Local AI Assistant With Ollama
Have you ever wanted to run a local ChatGPT with full control and features?
Yeah, me too.
First of all, a disclaimer: running a local installation of a GPT-like model is not cheap. It requires a powerful machine, that is, you will probably use this guide only to play with AI technologies. Nevertheless, it’s worth trying and definitely you’ll end up with a better comprehension of how Generative AI works, at least in practice.
This is the reason for writing this article: it’s a set of notes to learn a bit more about the (local) use of Large Language Models (LLM), the integration of a local Image Generator and serving them on the web, so you’ll have full control over your own multi-modal ChatGPT.
I’m going to install Ollama, Open-WebUI and ComfyUI in order to manage LLMs, serve a web ui similar to ChatGPT, and generate images, respectively.
Ollama

It’s a manager for an entire library of open LLMs, like Llama-3.1, Phi-3, Mixtral, among many others. To download and install Ollama on your local machine, follow these steps:
sudo apt update
sudo apt install curl -y

curl -fsSL https://ollama.com/install.sh | sh
Test your brand new local language model manager by downloading a model.
ollama pull llama3.1
Then, run the prompt and start chatting. Yay!
ollama run llama3.1
Open-WebUI
Using the terminal is badass, and it’s quite cool and fast.
However, we are used to fancy and minimal interfaces, and Ollama without an interface is pretty boring.
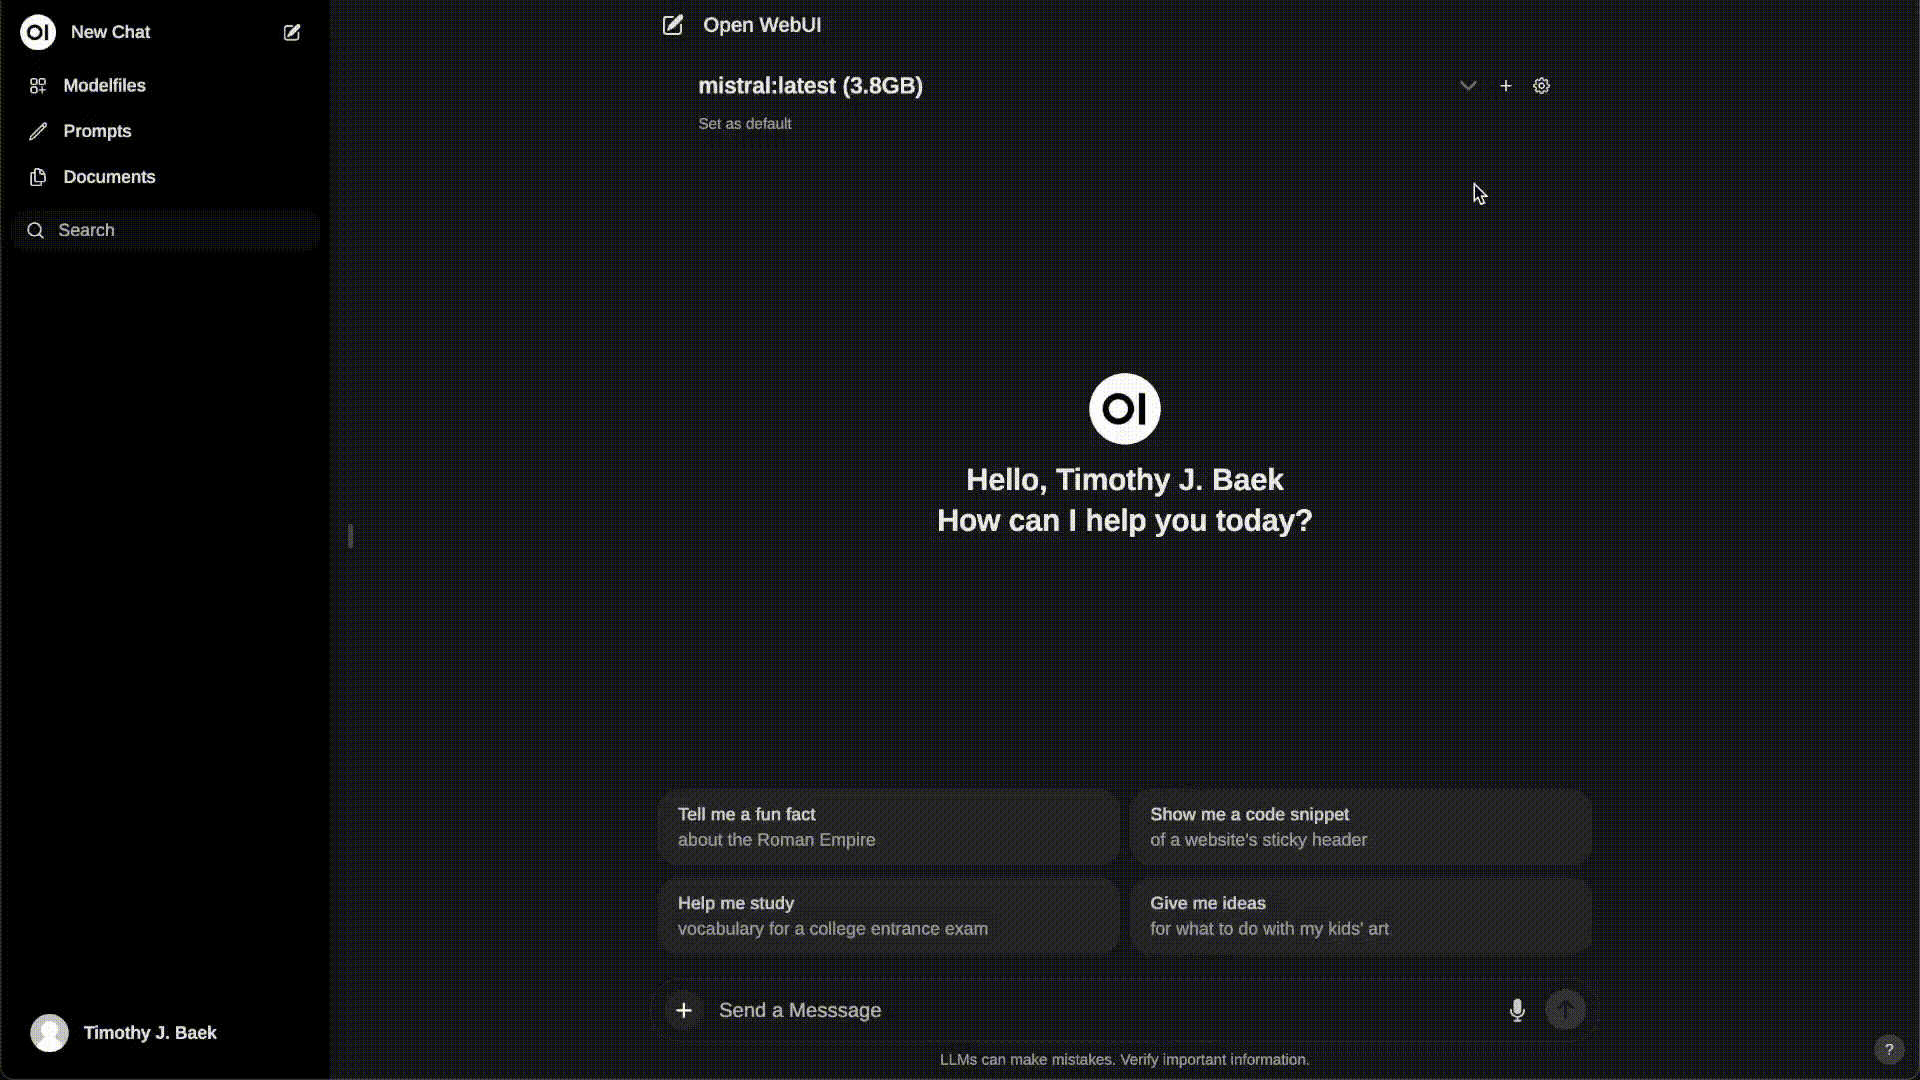
That’s why we are goin to install Open-WebUI, a more complete clone of ChatGPT interface.
Before jumping in the installation instruction, create a conda environment (it will be used for the next steps). Make sure to use Python 3.11 or above to match the requirements.
conda create -n ollama python=3.11
conda activate ollama
Forget docker. I’ve found easier and lightweight to use the experimental installation with pip.
pip install open-webui
This is straightforward! Serve the webui and use your downloaded ollama models locally with a cool interface stolen by ChatGPT.
You can access the server from http://0.0.0.0:8080. It is also visible from your local network.
open-webui serve
ComfyUI
Why don’t you update your local clone of ChatGPT with image creation capabilities?
ComfyUI is what you need. I’m not going to explain how it works, however it’s enough to know ComfyUI allows to create a nodes workflow (like in Blender or Unreal Engine, if you are familiar with those tools) to load pre-trained models or checkpoints, like SDXL or Flux.1, control the latent space and many other useful operations.
Simply pass a text prompt to the text encoder (usually, it is a CLIP-based node), click the play button and wait for your image to be generated.
To install the image generator, we need to install a repository and update our conda environment.
- Clone the repository from Github.
git clone git@github.com:comfyanonymous/ComfyUI.git
- Enter the directory, then create and enter a conda environment with Python 3.11 or above (you should already have it).
pip install -r requirements.txt
- Run the server and take note of the
host:port(it should be: http://127.0.0.1:8188).
python main.py
Add --listen to expose the server outside the localhost, binding it to http://0.0.0.0:8188.
To download new models, see this link.
Link ComfyUI in Open-WebUI
ComfyUI is a standalone application, however its usage in Open-WebUI is very simple.
Just open the Admin Panel > Settings > Images, and play with the settings.
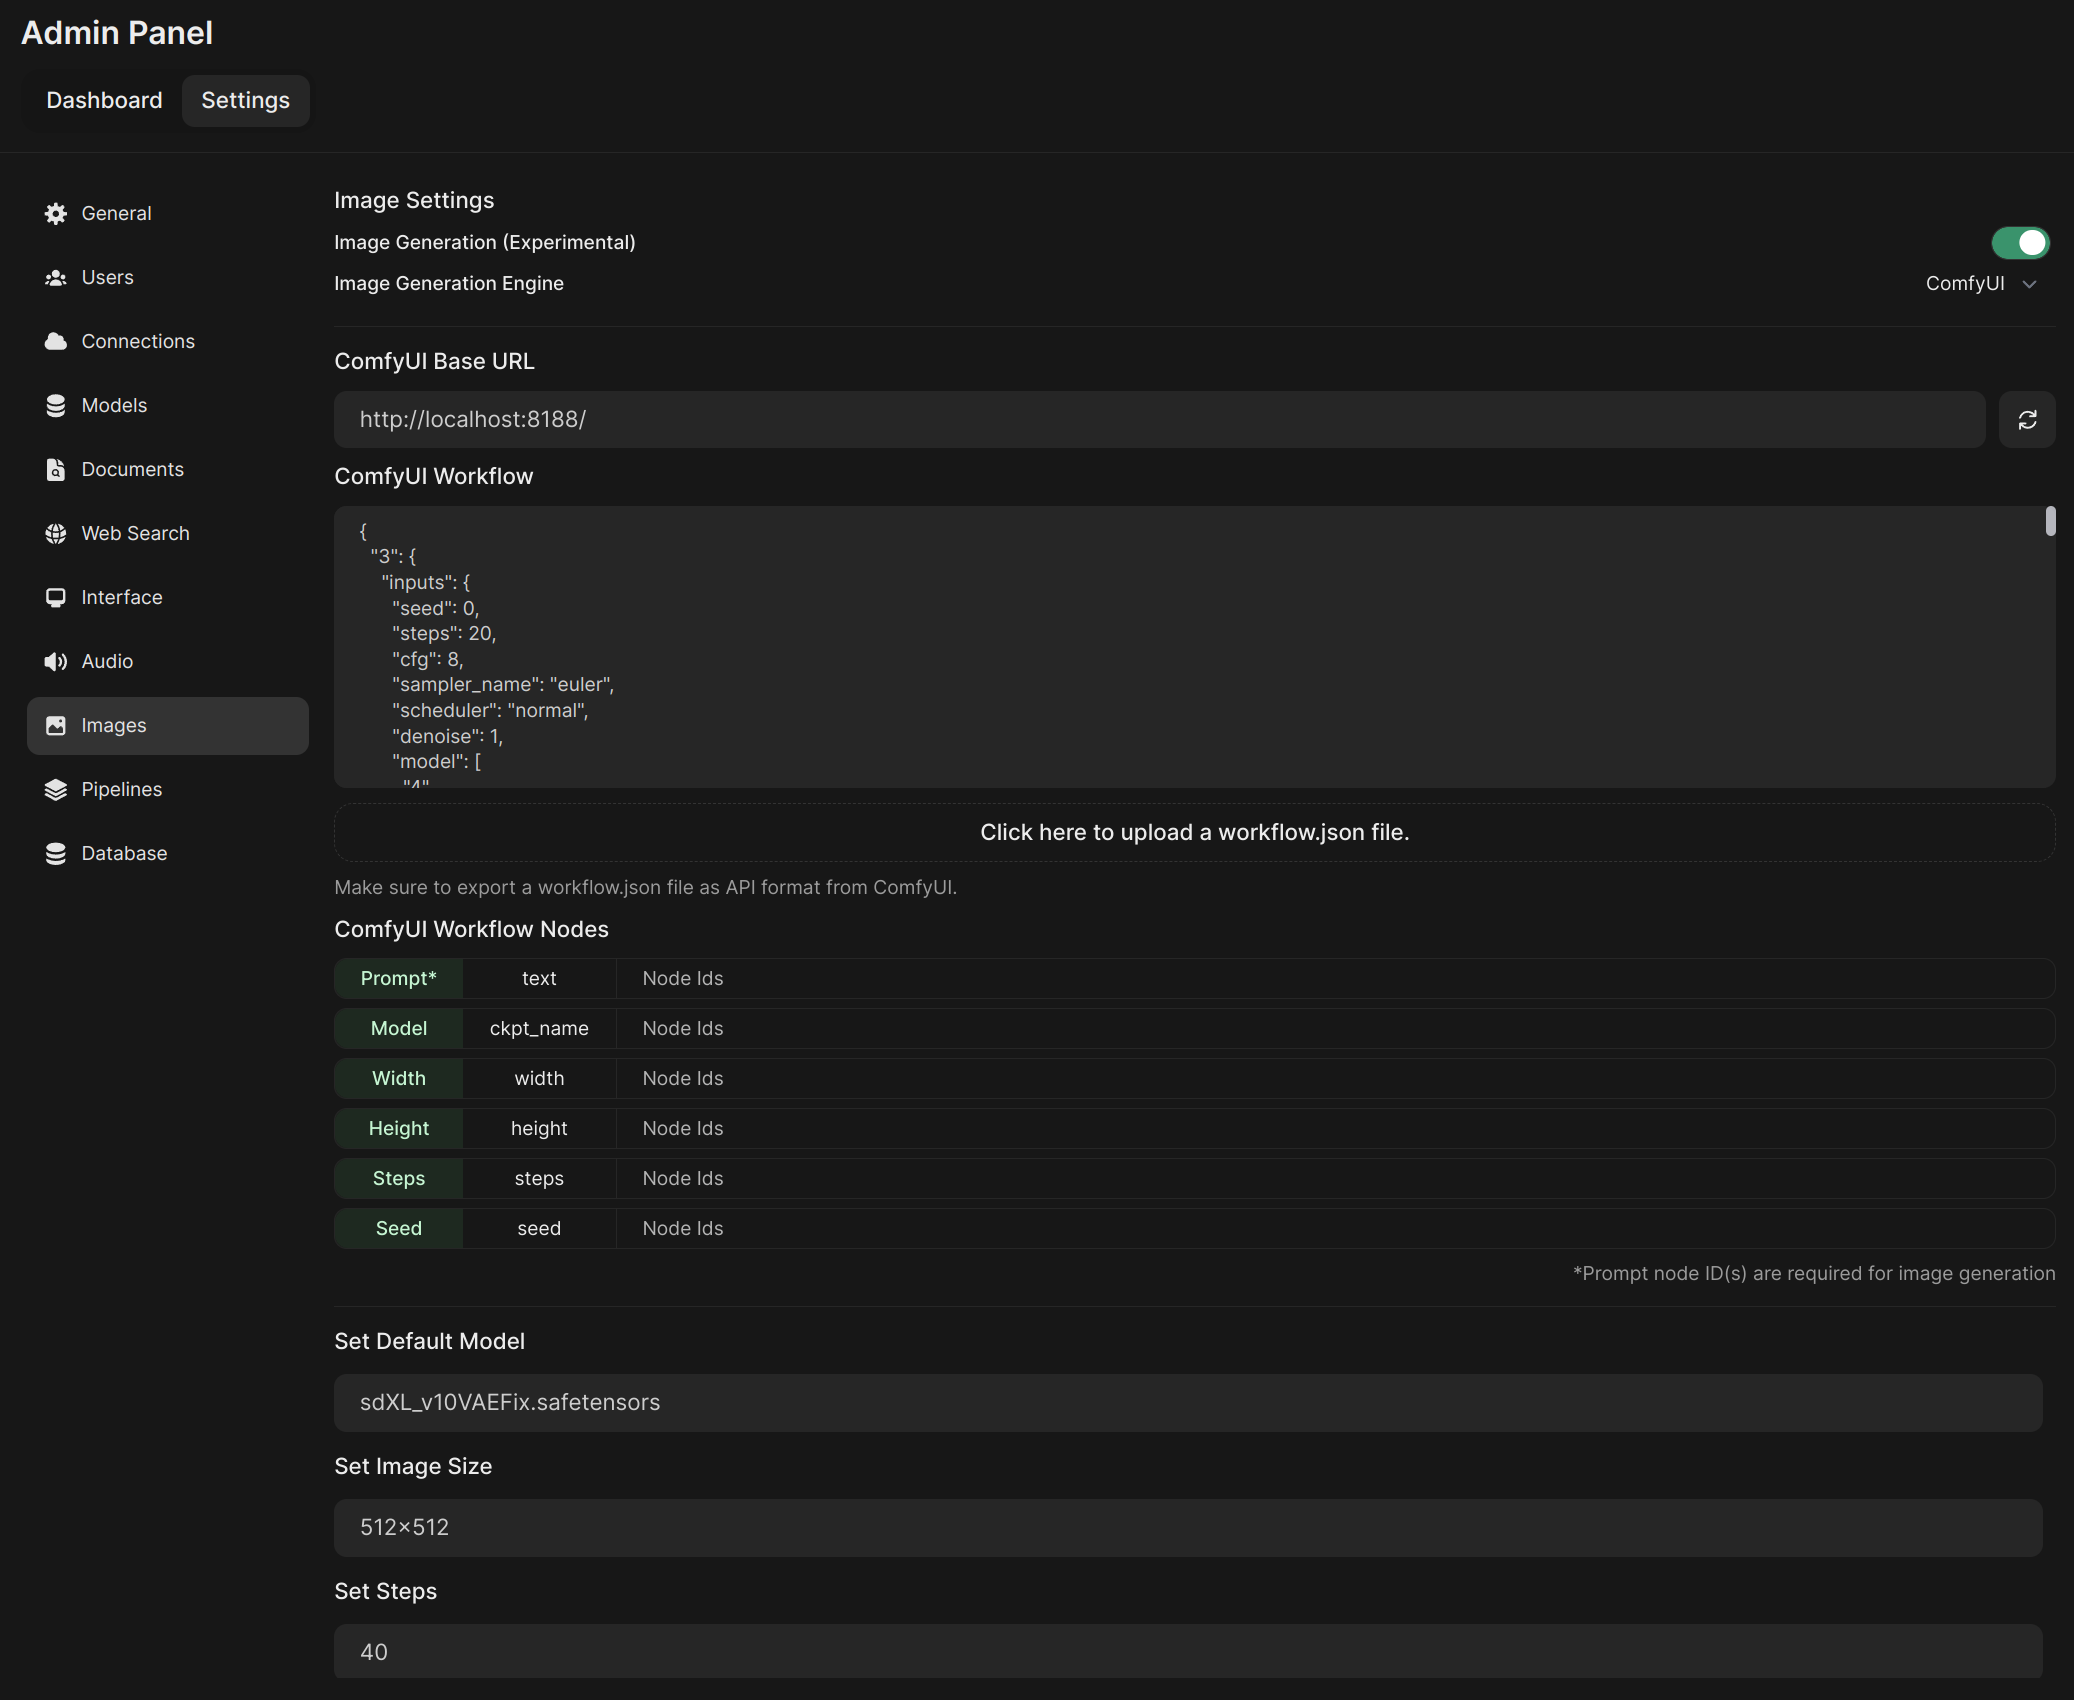
The minimum required steps are the following:
- Set Image Generation Engine to ComfyUI.
- Set ComfyUI Base URL with
http://localhost:8188/(update this according to your ComfyUI settings). - Enable Dev Mode in ComfyUI settings.
- Setup your preferred worflow in ComfyUI and Export (API) from the Workflow menu as a json file.
- Return to Open-WebUI settings and import the workflow json file.
- After importing, map the ComfyUI Workflow Nodes according to the imported node IDs.
- Select the desired checkpoint from Set Default Model drop-down list.
Don’t forget to save to apply! Now, every time your LLM generates a response, you can click a small icon of an image right below the generated text. It will take a while, and woilà! A brand new generated image is now shown in the chat.
At this link, you can find more information on how to set up Open-WebUI + ComfyUI.
Update
Every now and then, it’s good practice to update all packages to fix issues and get the newer features.
To keep your installation up-to-date, follow these steps:
# update ollama by re-run the installation script
sudo apt update
curl -fsSL https://ollama.com/install.sh | sh

# enter the environment
conda activate ollama
# update the "chat-gpt" like interface
pip install open-webui --upgrade
# update image generator code
cd ComfyUI/
git fetch
git pull
That’s it. Enjoy your brand new local AI assistant 😃